|
Hana-Gusari Mail (2/6 Grid)
|
|
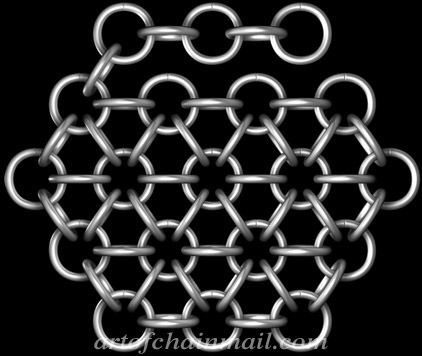
Base Pattern
|
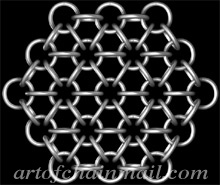 Hana-Gusari Mail or 2/6 Hex is one of my favorite Japanese Mail patterns.
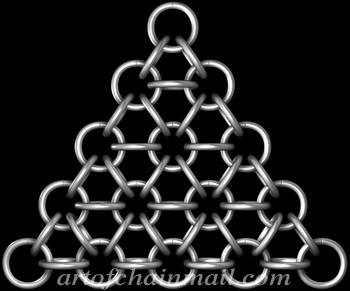
This is a historical Japanese pattern and while obviously weaker than European Mail patterns, Japanese Mail patterns in general were designed to be used in a completely different environment of arms and armour technology. In general they were never used for straight Mail Shirts. Rather, they were used over padded steel plates or to connect steel plates. While the open grid of Hitoye-Gusari allows for some facinating shaping possibilities through pattern alteration, Hana-Gusari offers variation through it's strict geometric shape. The base of Hana-Gusari is a 6 link equilateral triangle, this base allows you to create polygons based on equilateral triangles, such as Straight Triangles, Diamonds and Hexagons. While these shapes are alright as flat polygons, they truly shine as the base for more complex 3D polyhedrons. One of my favorite uses is the pentagon-shaped polyhedron that I use for the cups of my Hana-Gusari brassieres. Hana-Gusari offers almost no flexability, so clever use of polygons and polyhedrons is the only way to fit this pattern around complex shapes. It is important to note that in Japanese patterns the links alternate between sitting horizontally and vertically. In authentic Japanese Mail patterns, the vertical links would be oval-shaped. If you wish to emulate these authentic patterns, make sure that all the gold coloured links in the following Japanese Patterns are oval-shaped. 2/6 Hex means that vertical links pass through 2 horizontal links and horizontal links pass through 6 vertical links to form a hex-like pattern. The following pattern is for a small hexagon, I've also included an illustration of a small triangle at the end as an example of alternate shape possiblities. |
|
The ratio of links for creating Hana-Gusari Mail is all open links. However, if you add this ratio to the ratio for creating the base Japanese 1 in 2 Chain, the overall ratio is 1 Closed Link to 3 Opened Links.
|
|
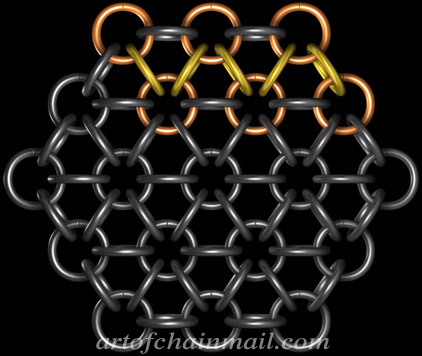
Starting Hana-Gusari Mail
|
|
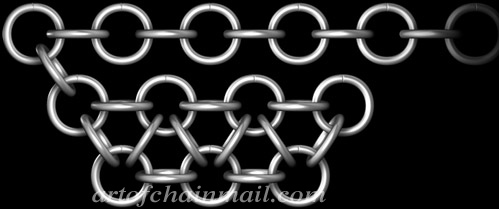
Step 1
|
|

|
|
|
Step 2
Starting a Row
|
|

|
|
|
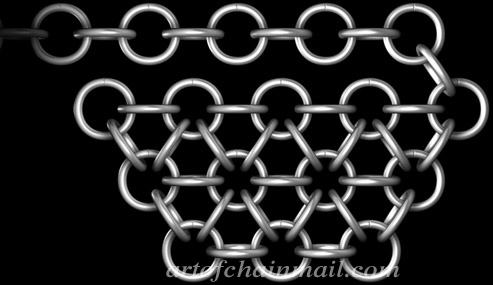
Step 3
1st attachment for a new row
|
|
 |

|
|
Step 4
Continuing to attach a new row
|
|
|

|
|
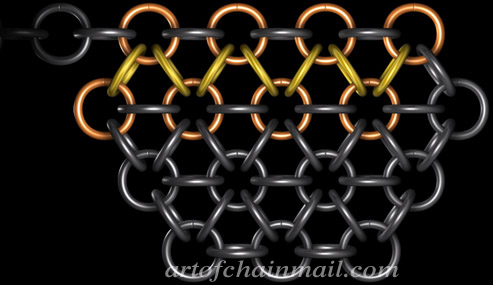
Step 5
Continuing to attach a new row
|
|
|

|
|
Step 6
Continuing to attach a new row
|
|
|

|
|
Step 7
Continuing to attach a new row
|
|
|

|
|
Step 8
Starting another Row
|
|
|
|
|
Step 9
Attaching a new row
|
|
X 7 |

|
|
Step 10
Starting another Row
|
|
|
|
|
Step 11
Attaching a new row
|
|
X 7 |
|
|
Step 12
Starting another Row
|
|
|
|
|
Step 13
Attaching a new row
|
|
X 5 |
|
|
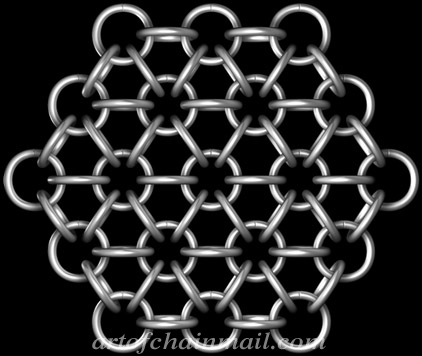
Finished Japanese Hana-Gusari Mail - Hexagon
|
|
|
Finished Japanese Hana-Gusari Mail Alternate - Triangle
|
|
