|
European 1 into 8 Mail
|
|
Basic Pattern
|
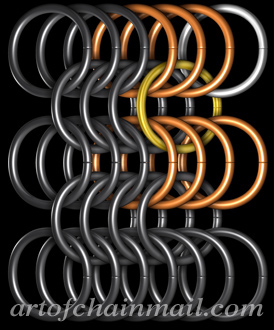
 European 1 into 8 is an advancement of the standard European family. European 1 into 8 is an advancement of the standard European family. If you have been observing closely you may have noted that these advancements in the standard European pattern are actually quite straightforward. In fact, beyond the relationship of the link's thickness to its inner diameter there is nothing stopping further progressions, such as 1 in 10, 1 in 12, 1 in 20, etc... Just follow the same basic rules as the progression from 1 in 4 to 1 in 6 to 1 in 8. As far as I'm aware there is no historical basis for this pattern. Still, it makes a very nice, very stiff, heavy armour. The ratio of link gauge to inner diameter must be quite large for this pattern, anything smaller than 16 gauge 7/16" inner diameter links may not work very well. Again, simply follow the rules of columns and rows set down in the Basic European 1 in 4 Pattern, except each link must pass through 8, instead of 4 others. Thusly: If the link you are adding goes through 4 links on the existing pattern, then it must also go through 4 new links. If the link you are adding goes through 6 links on the existing pattern, then it must also go through 2 new links. If the link you are adding goes through 7 links on the existing pattern, then it must also go through 1 new link. |
|
The ratio of links for this pattern is 1 Closed Link to 1 Opened Link.
|
|
Starting
|
|
Step 1
|
|


|
|
|
Step 2
Layout
|
|

|
|
|
Step 3
Adding to the Column Edge
|
|
 |
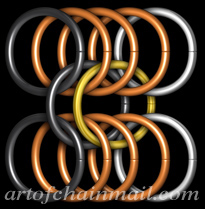
|
|
Step 4
Adding to the Column Edge
|
|
 |

|
|
Step 5
Adding to the Column Edge
|
|
 |
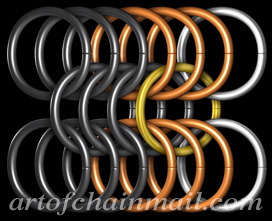
|
|
Step 6
Adding to the Row Edge Start
|
|
 |
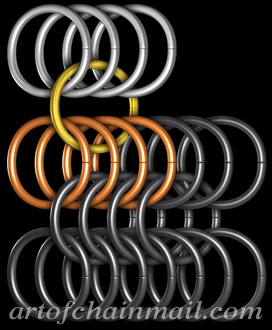
|
|
Step 7
Adding to the Row Edge
|
|
 |
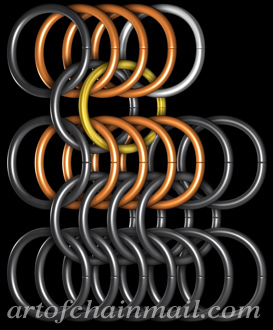
|
|
Step 8
Adding to the Row Edge
|
|
 |

|
|
Step 9
Adding to the Row Edge
|
|
 |
|
|
Finished European 1 into 8 Mail
|

|

